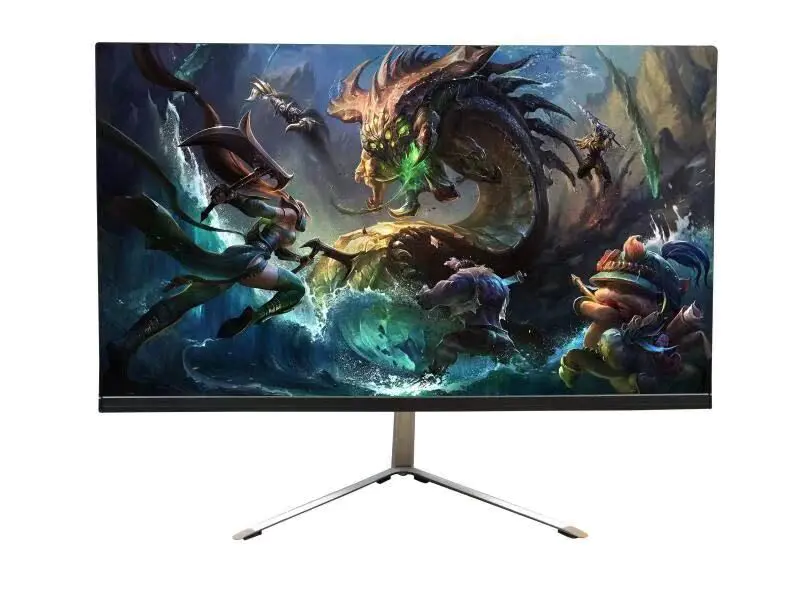

ViewSonic VP2770-LED
OEM MONITOR
- 15 inch TFT LCD MONITOR (4:3)
- 17 inch TFT LCD MONITOR (4:3)
- 19 inch TFT LCD LED MONITOR (4:3)
- 15.4 inch TFT LCD MONITOR (16:9)
- 15.6 inch TFT LED MONITOR (16:9)
- 17.1 inch TFT LCD MONITOR (16:9)
- 17.3 inch TFT LED MONITOR (16:9)
- 18.5 inch TFT LCD LED MONITOR (16:9)
- 19 inch TFT LCD LED MONITOR (16:9)
- 19.5 inch TFT LED MONITOR (16:9)
- 21.5 inch TFT LED MONITOR (16:9)
- 23.6 inch TFT LED MONITOR (16:9)
The led video processor debugging steps
by:Xinyao LCD
2020-04-03
LED video processor is full color LED display screen witnesses in the whole process of the birth, growth, and maturity and key equipment, their quality directly affect the display of LED display, LED video processor and display the binding to use, greatly facilitate the end user is widely used, improve the depth of the use LED display.
To the user, in order to ensure efficiency, understanding of several common video processor failure solution is a must.
One, LED screen not full screen problem phenomenon: LED screen not display all of the input signal source images, show only a part of the image.
Solution: 1.
Set the video processor 'output width' value of LED screen width pixels, 'height' output values for the LED pixel screen height.
2.
Input signals to the computer, you need to set up the video processor for the 'full screen' state.
Two local display, LED screen can't question phenomenon: on the surface of the LED screen can only display computer desk all images, not only shows part of the image, 'local show' is for the LED display computer signal set solution: 1.
Set the video processor to 'local show' state.
2.
Set up the computer output to be greater than or equal to the resolution of the LED screen resolution (
Sometimes you need to set up the computer output resolution and video processor output resolution)
Three, VGA input, screen migration issues like now: choosing VGA input signal, LED display screen migration solution: 1.
Select the VGA input, and keep the VGA signal.
2.
According to VGA AUTO button automatic correction, some models need to click the VGA key, press the AUTO button again to start the automatic correction.
3.
To ensure the signal on the VGA input port without interference, signal amplitude meet the requirements.
Fourth, the LED screen images, dissatisfaction screen problem phenomenon: 1.
Choosing a computer input signal (
VGA, DVI or HDMI, etc. )
, the processor set up correctly, but the computer desktop images on the LED screen, 2.
Computer graphics output resolution set different values, the processor input resolution of the LCD display is a fixed value.
Such as: always show the cause of the 2048 x1152_60hz analysis: VGA, DVI or HDMI to receive port contains EDID data, EDID data packets containing interface can identify all of the format and can identify the best resolution format and other information.
Some computer graphics card connected to the processor of VGA, DVI or after HDM port, computer graphics output resolution will default and processor can identify the best resolution format output.
The resolution of the computer graphics Settings just shows the effective image resolution size, and centered.
Solution: change the VGA display card/DVI/HDMI output scaling option, the setting of scaling the output full screen.
Found in the work, different graphics, different operating systems and even different versions of the operating system, the position of the Settings in the system is not the same, we will common graphics Settings under the XP and Windows 7 system of detailed steps to sort out as follows: 1)
。
Windows 7 NVDIA + INTEL dual graphics notebook, right-click the desktop space position in the pop-up menu, select 'graphics options' - > 'screen adaptation' - > 'digital TV' - > 'zoom full screen', the DVI output signal is set to full screen.
Right-click the desktop blank position, in the pop-up menu select 'graphic attribute, into the Intel graphics and media control panel, in the' display '- >' Settings 'menu, select digital display its, will zoom option is set to custom aspect ratio, the width and height are set to 100%.
2)
。
Windows XP ATI graphics CARDS, right-click the desktop space position in the pop-up menu, select 'ATI control panel, and then select' digital panel [in the ATI control panel
DVI]
'- >' scaling options ', set it to 'scan' 0%, the DVI output signal is set to full screen.
3)
。
Windows 7 ATI graphics CARDS, right-click the desktop space position in the pop-up menu, select 'ATI control panel, then in the ATI control panel select' my digital flat panel '- >' zoom option (
Digital flat panel)
', and set it to 'scan 0%', the DVI output signal is set to full screen.
Five after connecting the LED video processor, graphics, sound card no sound output problem: after DVI or HDMI connection processor computer graphics, sound, no sound output.
Unplug the DVI or HDMI cable, the sound card sound output normal cause analysis: HDMI interface can transfer images and sound signal at the same time, at present most of the graphics support HDMI output.
With a DVI interface, graphics internal processing scheme is to use HDMI.
So the video card also have sound output function, the computer voice can choose from the sound card output, also can choose from graphics output.
If set the graphics HDMI output device as the default voice, the computer graphics DVI or HDMI connection processor computer voice will default from the graphics output, so the sound card has no sound output solution: set the sound card to computer the default sound output device.
Computer different operating system Settings interface, the method is different, we in Windows 7, Vista and XP, for example.
Windows 7 or Vista system: 1.
Right-click the taskbar in the speaker icon to select 2 'device'.
Sets the 'speaker' to the default sound output device XP: horn in the right-click the taskbar icon to select 'device', choose to adjust the Audio properties, will be the default sound broadcast equipment selection for Realtek HD Audio output
Custom message
Related Products